
Short: The Rotten Monk
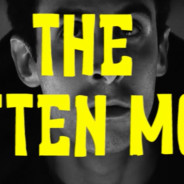
The Rotten Monk is a nice black and white piece I graded for Omar Antonio Iturriaga. It was his final project at the Mel Oppenheim Film School.
In his words:
A surreal dark comedy exploiting the b-film genre in which a young monk must endure the trials of the Holy Forest while being guided through by an old and enigmatic character.
Here is the teaser:
The Rotten Monk Trailer from Omar Antonio Iturriaga on Vimeo.
TV Series: Complexe G
In August I started grading a new TV series called “Complexe G”. It’s a comedy based on the Dutch series “Toren C”. In these 13 episodes we follow coworkers through their work day in a common office.
The show, produced by QuebeComm, was shot by DP André Perron on C300s and KiPro minis. The decision of using KiPros was made in pre-production to get a little more info from the C300 trading the 50mbps mpeg-based codec for the 220 mbps ProRes HQ.Windows were overexposed with the help of white diffusion. This helped closing the open set that was in a real office space in Quebec city.
Also, each character got a special treatment: Karine, the boss is surrounded by red objects, Sarah, the HR director is dressed and is surrounded by impeccable white, Nathalie, the assistant, is dressed in faded colours.
The show was edited in Media Composer and graded on Resolve 11.
The first episode will air on September 17th at 9PM on TVA
DOC: Steakhouse: Hugues Dufour à NY

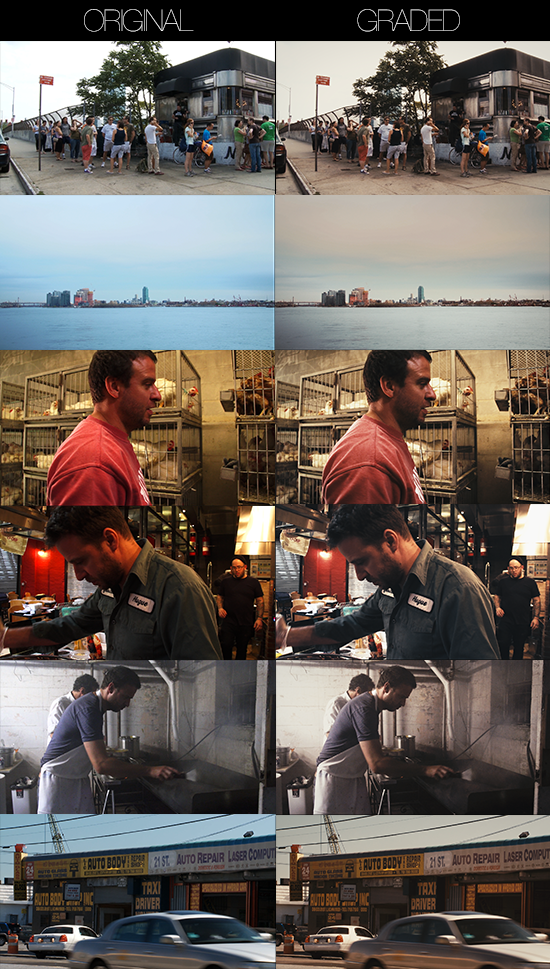
This was a nice gig. I like to work on urban documentaries. This is the story of Hugues Dufour, a Montreal chef who moved to New York to open a steakhouse in Queens. The movie follows him over the 2 years he spends working on the project.
As the colourist, I was ask to reproduce the look and feel of 80s family movies and 8mm video. I used a heavily contrasted Kodak LUT and some dirty film grain scans from Gorilla Grain. We wanted to match the low-lalitude FS100 and EX3 to the dirty look of the archive footage used in the movie. The black were clipped on purpose but stayed high to give a washed feel to it.
Here’s the description on the producer’s website:
Pour le documentaire Steakhouse, nous avons suivi les aventures de Hugues Dufour, ancien sous-chef pour Martin Picard, dans son projet d’ouvrir un steakhouse à New York. Ce qui devait prendre deux mois aura finalement pris plus de deux ans, mais le jeu en a valu la chandelle et le restaurant M. Wells Steakhouse est maintenant ouvert, et l’équipe du film était sur place pour suivre toutes les péripéties et vivre tous les moments marquants de cette aventure.
Here is the link to the graded teaser:
http://www.canald.com/webtele?target=1.1405089
The link to the NOT GRADED trailer on TOXA’s website: http://www.toxa.com/realisations/steakhouse/
Here is the link for the broadcast schedule
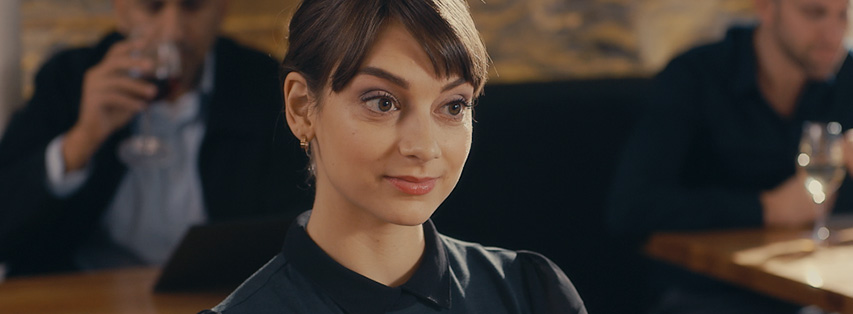
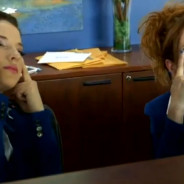
WEB: Ma vie amoureuse de marde

Here a little review of my work on the teaser of a web series I worked on last week. It’s not often I get to post a clip so quickly but we need some likes on it to get the money to actually produce the full season so here it goes.
The original idea comes from the Montreal humorist, Anne-Marie Dupras, who started to use her love life as an inspiration for web sketches. Martin Berardelli them approached her to produce a whole season of these funny clips. So he gathered a team to shoot this teaser.
The shoot
On set, DP Kevin Champagne Lessard was willing to shoot with his Sony FS100. As I knew we wouldn’t have much time to light the set, even though we ha a full set of 6 Dedo lights, I wanted to get the best image I could get from the camera. I borrowed a Sound Devices Pix240i from Sono-technique. This way I was able to record ProRes 422 HQ files instead of the AVCHD files of the FS100. The other nice surprise was that the Pix240i was able to remove the pulldown sequence from the 29.97 HDMI feed of the FS100 and record a native 23.98.
After a week of editing I got the final cut. It was easily conformed in Resolve since the data wrangling was so well done… by me. I usually use the Scene Cut detection tool for foreign projects but with such a short movie and possible changes along the way I thought it was safer this way.
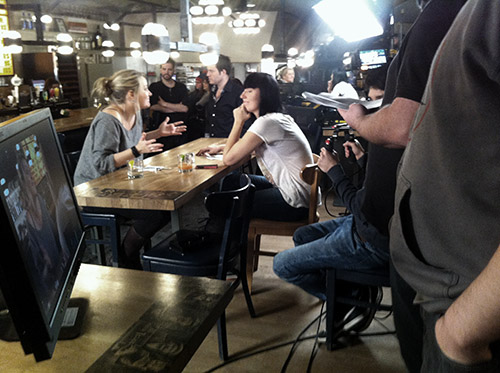
My FSI monitor showing the frame to the director and the DP. You can see the FS100 on the SHAPE rig with the Pix 240i and the Dedo lighting kit.
TVC: François Bellefeuille

Last month I got a call from PMT to grade a TVC for François Bellefeuille, a Quebec humorist. The 30 sec edit shows a popular comedian subbing for Bellefeuille who didn’t want to perform his show that night.
The first was treated lightly to keep the feel of the onstage look with bright blue lights. The last shot that shows Bellefeuille has more contrats and saturation to it. It looks darker on this YouTube video but the skintone was pretty rich.
And the cool grading room at PMT:
Export SpeedGrade looks for DaVinci Resolve
In this second article on look exchange we’ll try to migrate a look created in SpeedGrade CC to DaVinci Resolve 10.
SpeedGrade works extremely well with other software and grading solutions. Iridas used to develop a version called SpeedGrade Onset whose purpose was to create looks on set and eventually move them to the grading station or to the lab for daillies. SpeedGrade then inherited of this great ability to export various kind or flavors of LUT for a wide range of color grading workstations.
Creating the grade
First, we have to open a SpeedGrade project and create a look. For this look we will only use one stack containing three look layers.
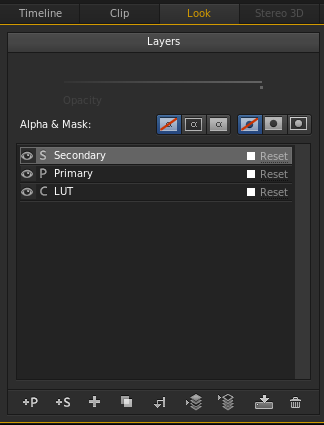
Layer 1: A LUT called BLUE ICE created by LookLabs
Layer 2: A Primary to give a bit more crunch in the highlights
Layer 3: A Secondary to remove most of the green in the trees
Copy grades from Resolve to SpeedGrade
I’ve been working as a Resolve colorist for the past couple of years but last summer I was asked to sub for a veteran SpeedGrade colorist on a drama to be broadcasted on Radio-Canada. I did the first two shows on Resolve and finished the remaining shows on SpeedGrade. I was amazed at the speed and responsiveness of the Adobe app.
I then began to jump from one system to the other depending on the project and the DP. I find Resolve to be a much more effective tool for creative work with a DP who wants to try very precise variations at the beginning of a project. On the other hand, SpeedGrade is much faster to help you grade through long episodes, apply vignetttes and do modifications on whole scenes during approbation sessions.
As I was changing software so often, I needed to find a way to move grades, tools and looks across platforms and I found out I’m not the only one doing this. This is why I’m writing these articles on looks exchange between apps. The first one is about building a grade in Resolve and moving it to SpeedGrade to use it in another project.
Creating the grade
So, let’s see how to build a complex look in Resolve and export it for SpeedGrade. To do this, we will use the deep Lookup table (LUT) integration in SpeedGrade. SpeedGrade can import, use and even convert various kinds of LUT. Lookup Tables can recreate about any color modification applied to a digital image: saturation, luma, hue. It acts as a reference table between two color setups. It takes the RGB value of the source and gives it the equivalent values in the referenced setup, doing so, it changes the color and applies the look. LUTs are very powerful. The only grading tool it cannot support is the power window. LUT can make no reference to a position, it’s only applying a color modification to predetermined color. Therefore LUTs cannot be used for vignettes, masks or grads.
Here, I’ve a look in Resolve 10 using 4 nodes:

Warm grade created with Resolve nodes
Node 1: I applied the standard Arri Log C to Rec 709 LUT
Node 2: I shanged the color of the big yellow shoe to orange with the Hue vs Hue curve
Node 3: I warmed up the scene with the Primaries
Node 4: I changed the color of the bag from blue to purple with the Qualifier and a Hue shift